


By Tas Fraser
For three years I’ve been documenting ciders on Instagram from all over Canada, the U.S. and other countries around the world. For the first time, I decided to take on the challenge of making cider for myself.
I have always wondered what it would be like to have a cider of my own. So I went on my journey to try it out (and I’m taking you along, too).


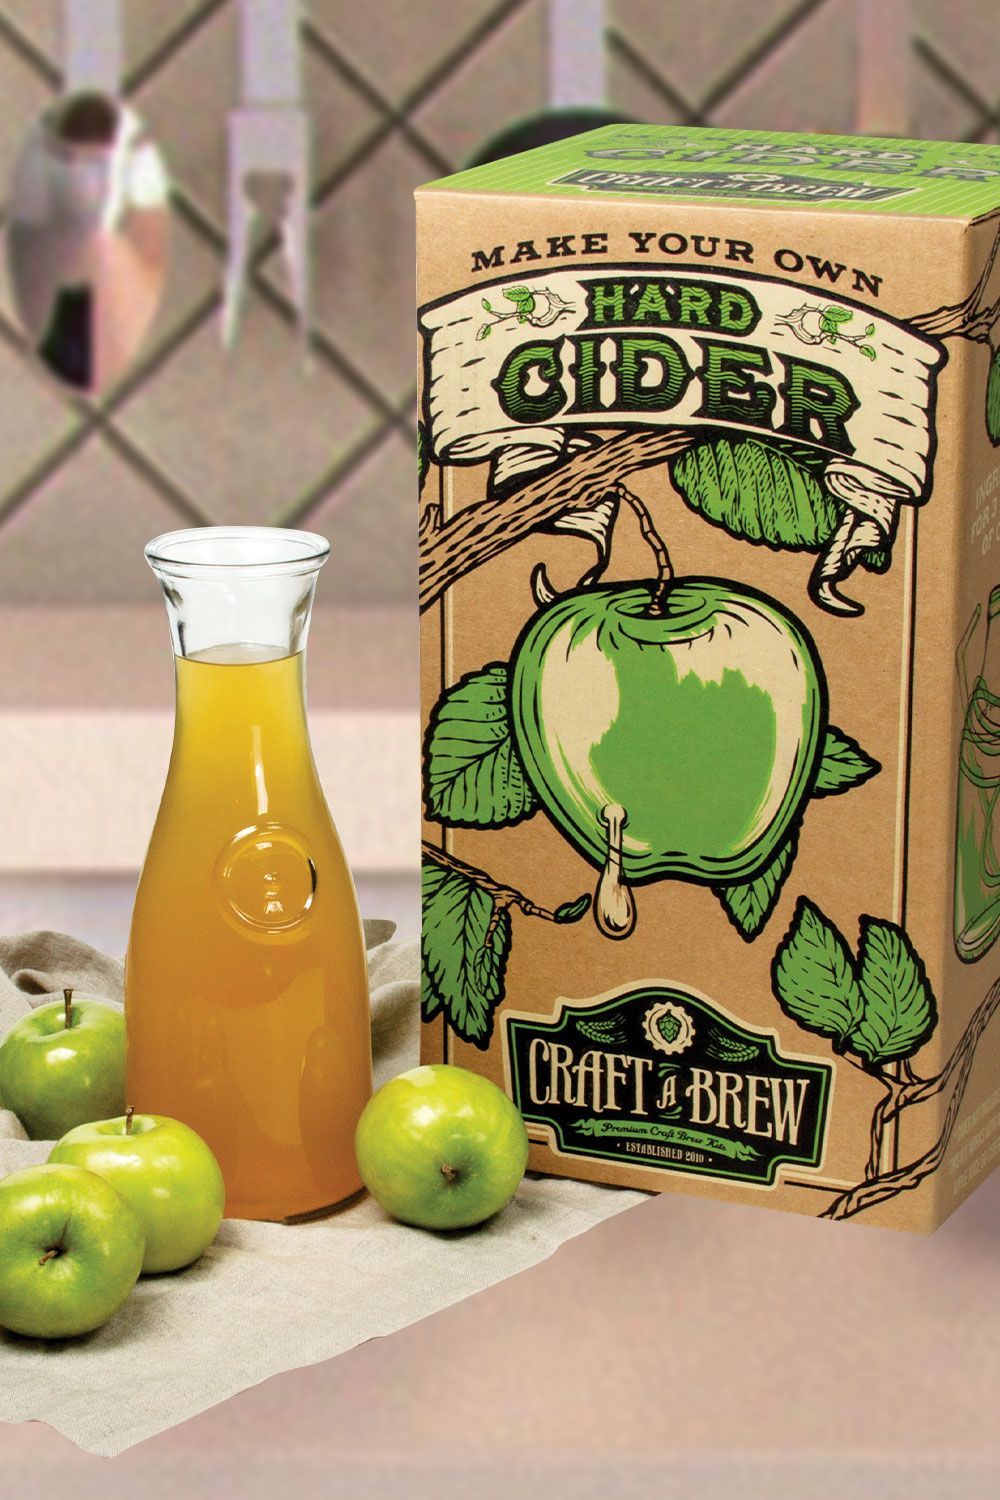
These days, there are countless cider making kits and methods to help you out with this task even if you don’t have the property to do so. Of course, a large backyard would help, as you will need more space than you think. I was gifted with a cider making kit, which I figured was perfect considering it was my first time. There are lots of them on the market, I used the Craft A Brew’s Cider Making Kit. Some other popular ones on the market are the Brooklyn Brew Shop’s kit or The Northern Brewer’s kit. There are of course variations between them all in terms of type of equipment, but the method will mostly stay the same.
Equipment from Craft a Brew
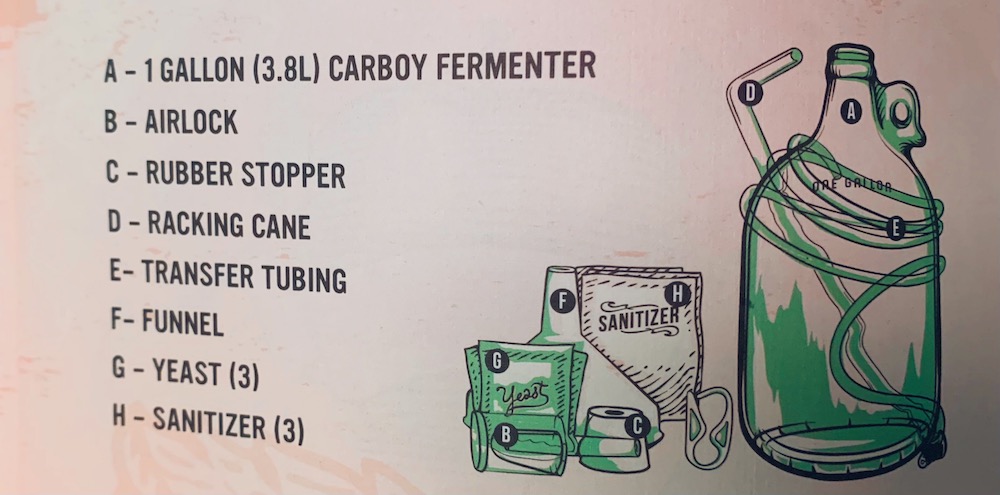
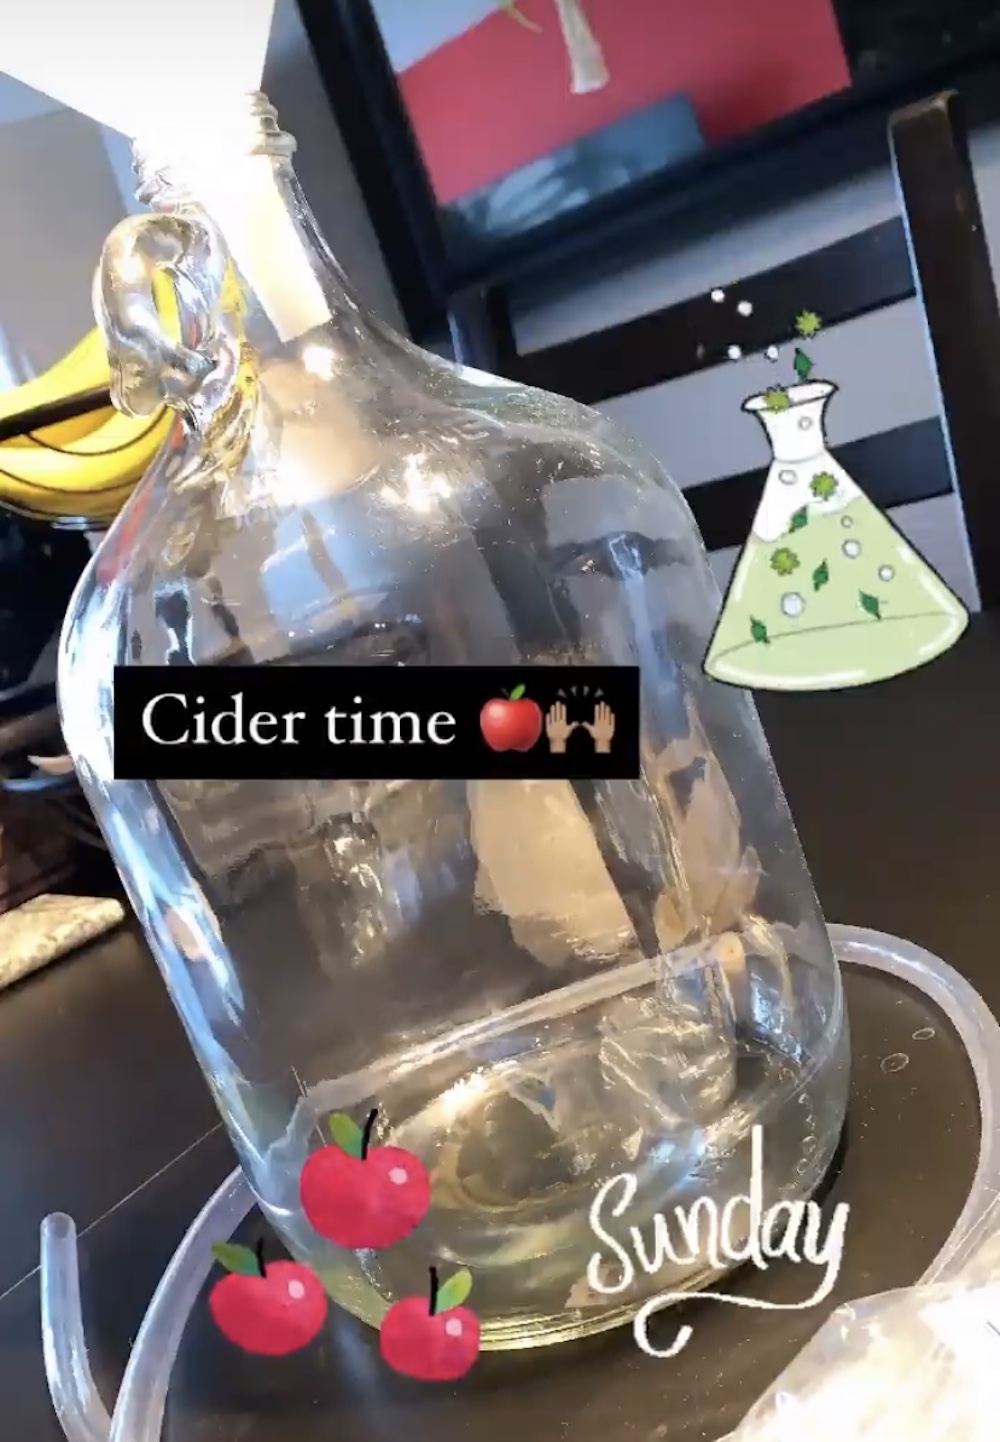
• 1 gallon carboy fermenter (the glass jug that holds your cider as the yeast does its job!)
• Airlock (mine came broken so I recommend buying a couple extra, I bought a pack of 3 from Amazon for $15)
• Rubber stopper
• Racking cane
• Transfer tubing
• Funnel
• 3 packs of yeast (yeast converts sugar into alcohol and releases Co2 which can carbonate cider)
• 3 packs of sanitizer


You will also need to purchase apple juice. It must be without preservatives (ascorbic acid is OK) and must be 100% natural. So if you are buying from a store or farmers market you will need to make sure of this. I found a clear juice by President’s Choice that fit the description. If you want a cloudy cider, you can get unfiltered apple juice.
The kit makes a sparkling dry cider, however, allows for variations to use cinnamon, peach or berry.
Other equipment you might need
• I had to purchase a large pot (I bought a 5 gallon one from Toronto Brewing www.torontobrewing.ca ). You will need a pot that is at least 1 gallon to hold your cider while you mix the sugar before carbonation.
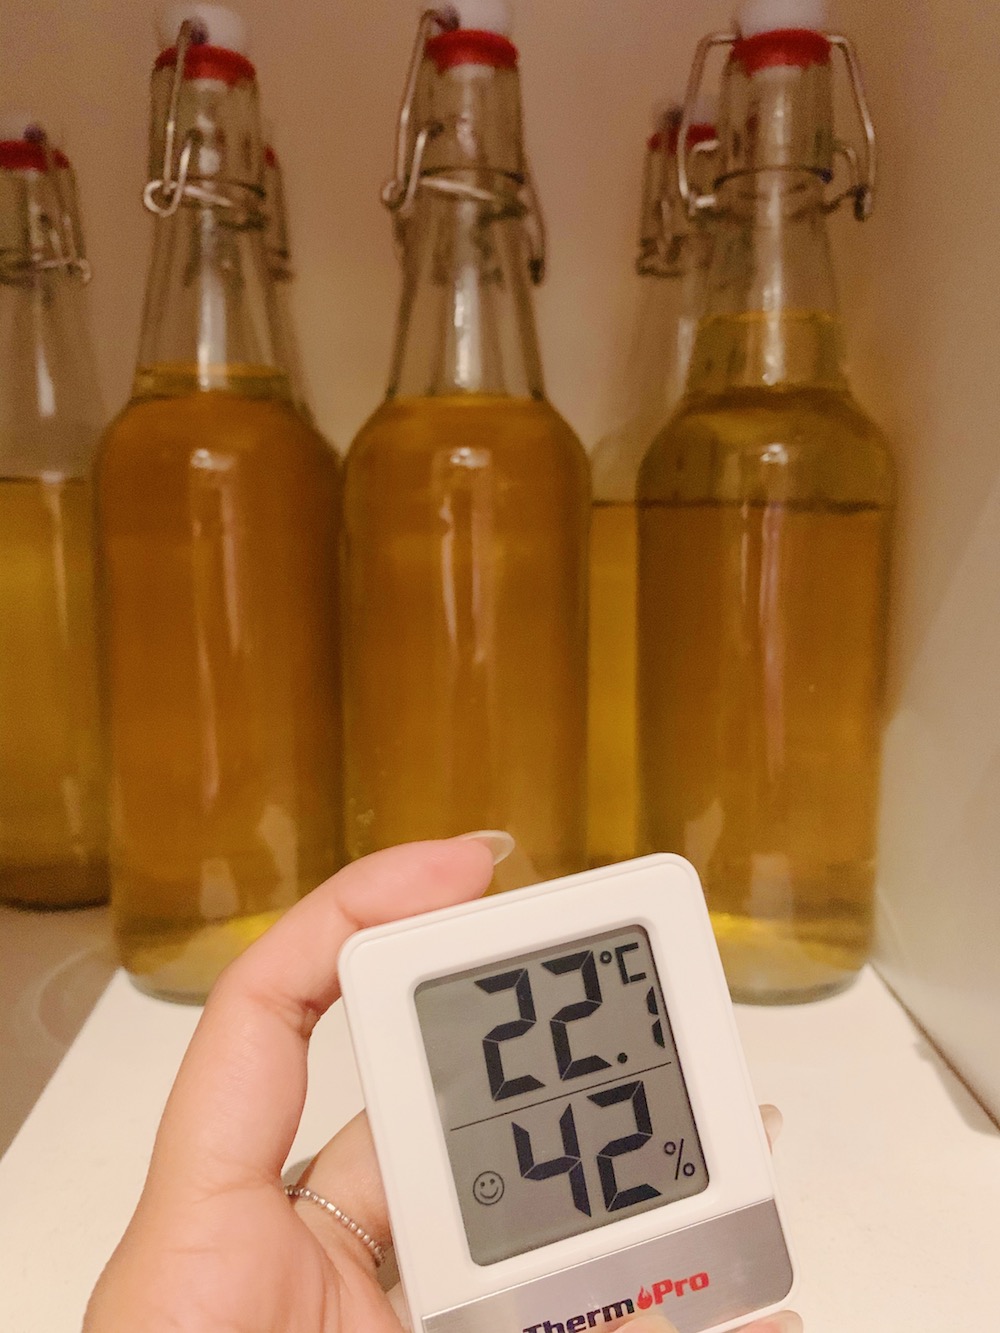
• I also purchased swing top bottles to hold the cider in (12 x 500 ml bottles, also from Toronto Brewing)
• I purchased a small room thermometer (I think it is meant for greenhouses) from Amazon for $11. This is so I could keep track of temperature changes that may affect the cider.
• I purchased a hydrometer — this is an instrument that measures the gravity of the liquid before and after fermentation so you can calculate the Alcohol By Volume (ABV) of the cider.
• I also purchased the book The New Cider Maker’s Handbook by Claude Jolicoeur for some background information on the process. I did not read this all before the cider making, however some sections I had to reference!
The process
I started by washing my hands and selecting a large clear area (aka the kitchen) as it had the most space to lay out the equipment I would be using. The first and most important step is sanitation. Anything that touches the cider must be sanitized to keep bad bacteria out. If your cider gets contaminated, it’s game over. I started by using my large pot (but you can use a large bowl/mop bucket etc. as long as it holds 1 gallon) and putting in 1 gallon of water and half a pack of sanitizer. You will need to soak the following for at least 60 seconds, then rinse and lay on paper towel: rubber stopper, airlock, funnel and the carboy.
Hydrometer reading

Before I put the juice in with the yeast, I took a moment to measure the gravity of the juice with the hydrometer. This is not something necessary on your first batch, but I wanted to get used to doing it and to see changes once fermentation was over. There are calculators online to ensure your hydrometer is giving the appropriate reading for your room temperature. Hydrometers are sensitive tools, and are calibrated to a specific temperature, so if your area isn’t, you’ll need to adjust your reading. You will also take a reading before you put the cider into bottles. Use a calculator online to get final reading.
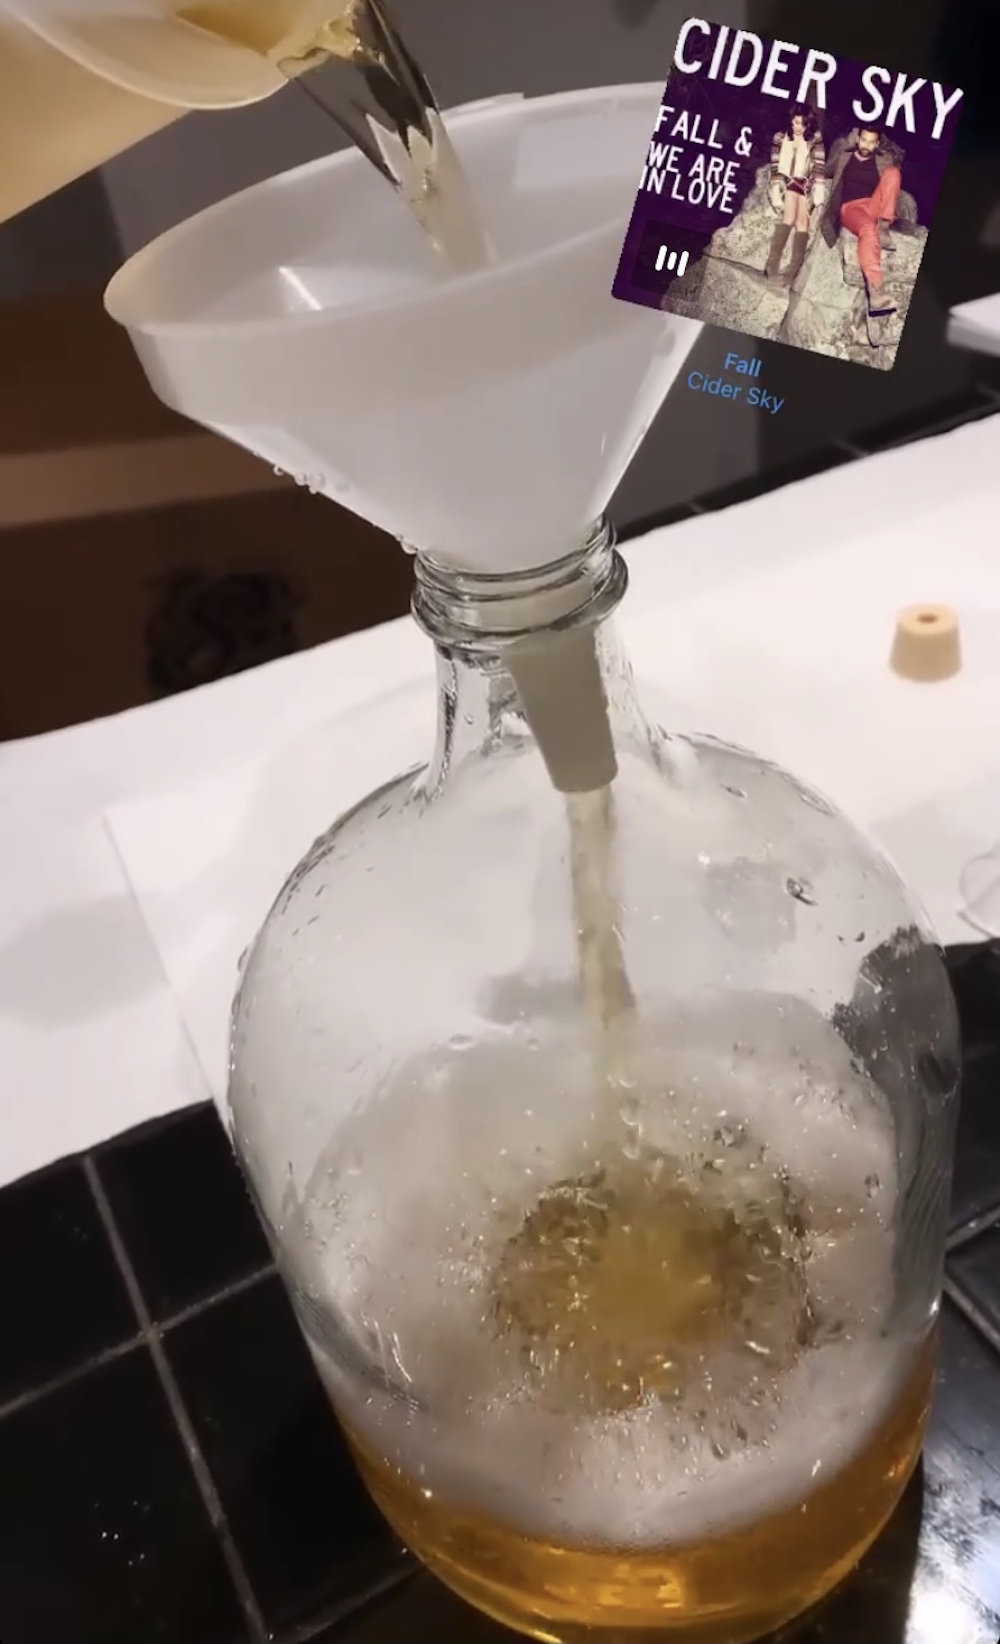
The next step is to prepare for fermentation. This is the process that creates hard cider. You will need to use the funnel, to put your apple juice into the carboy. Then, you add one package of yeast. Take the rubber stopper to plug the top and then get ready to add some oxygen. To do this you will need to aerate the juice. Ensure your hands are clean before you do this. Take your thumb and place it over the stopper hole and shake vigorously for over 1 minute. I started yelling after 20 seconds that my arm was sore, but you can’t stop as your cider depends on you. Next you will take out your airlock. It comes in 3 pieces: a cap, another plastic piece on the inside covering the passage to the cider, and the airlock itself. Take off the cap and fill the airlock up to the fill line with water. Ensure the internal plastic piece stays inside or else you will be putting water into your cider. Last, you will put the cap back on, and place the carboy in a cool and dark place (15-25 C) for 10 days to ferment. (Note: look for cracks in your airlock, mine was cracked so I needed to replace it). Of course there are many ways to play around with fermentation, however, the recipe calls for a short fermenting time, which I followed as a newcomer to this practice. I live in an apartment so it was hard to find a location that fit the description … but I settled on a storage closet. Now this is the hardest part … you must wait 10 days!
Bottling your cider
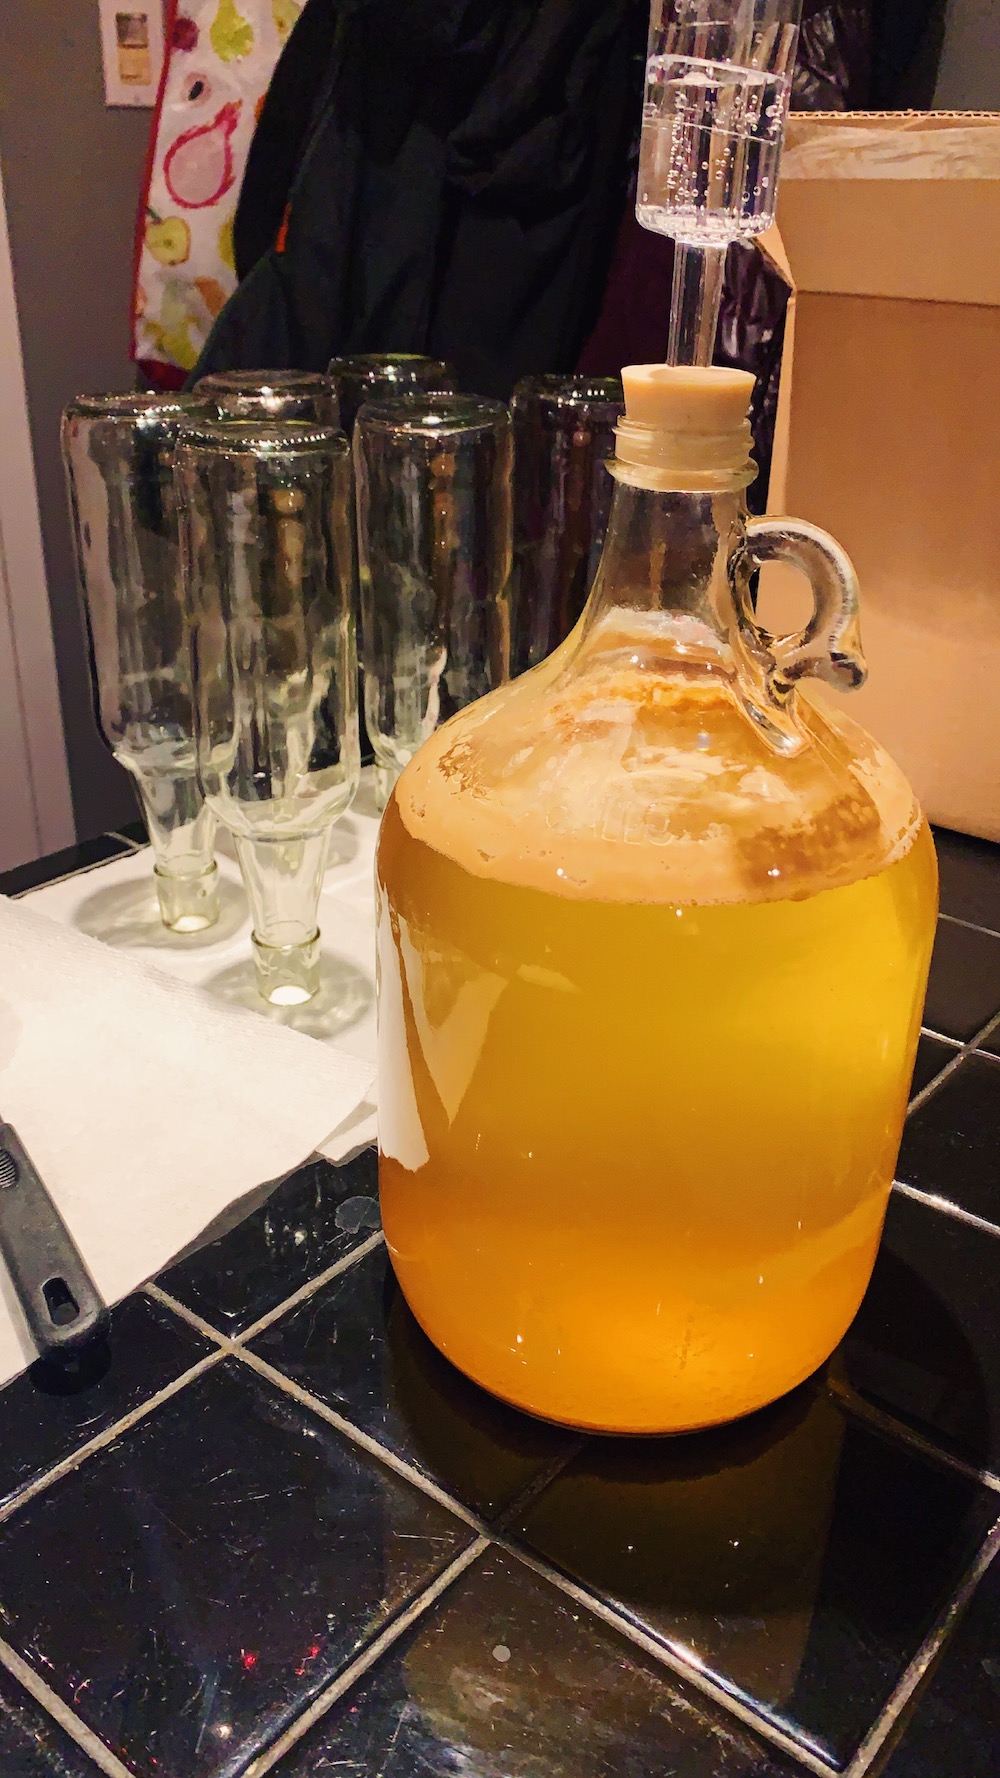
After 13 days (I managed to wait 3 extra days), I pulled the cider out of the dungeon and onto the kitchen counter again. To start up, you guessed it: sanitation. You will need to mix the other half of the package with 1 gallon of water. Rinse out your bottles first with water, sanitize (60 seconds) and then rinse again. You will also need to sanitize (for 60 seconds) and rinse your racking cane, tubing and a spoon for mixing. Lay it all on a clean paper towel to dry. In a large pot (over 1 gallon) you will add 1.5 cups of water and 2 tablespoons of sugar. Adding this sugar to the cider will allow for carbonation (*Note: it will not make your cider sweeter as the yeast will feast on it, so do not attempt to add more than asked as this can cause your bottles to explode). Heat on medium-high and stir sugar until dissolved. I had to do this step twice as I burned the sugar, so keep watch. Allow it to boil for 5 minutes, cover and cool. Ensure all sugar is dissolved.
Once the sugar water is completely cool you will siphon the cider out of the carboy into the pot to mix together. I recommend getting a buddy as your floor can get messy and it is good to have an extra pair of (clean) hands.
Starting a siphon
To start a siphon (which transfers the liquids) you will need to get a bowl of fresh clean water. Dunk the tubing into the water with the clamp open to ensure the tubing is completely full of water. Next, close the clamp and attach the racking cane to the unclamped end. You will insert the cane into the carboy ensuring the end is far enough from the sediment to not suck it up. Place clamped end as LOW as possible (I put the pot on the ground and had a bowl to catch the water, for the bottles, I had them on the ground too).
Once you have unclamped the tubing, this starts the flow of liquid so you will need to catch the water, then move the tubing to the pot immediately to ensure cider goes inside. If you need to stop the flow, close the clamp, if you don’t you’ll need to re-do the siphon as you will lose pressure. Once it is all in the pot, mix gently with a sanitized spoon. Repeat these steps for the bottling. Once it is all into your bottles, close the caps and put in a warm dark place for 10 days for conditioning and carbonation.
Once this is done, you can refrigerate and enjoy.
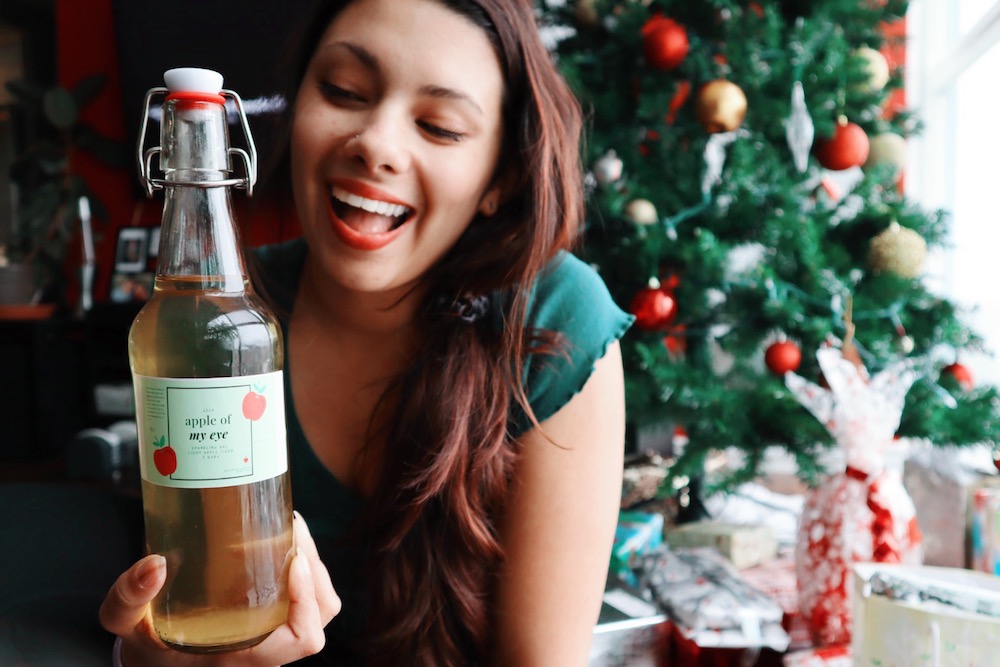
The results
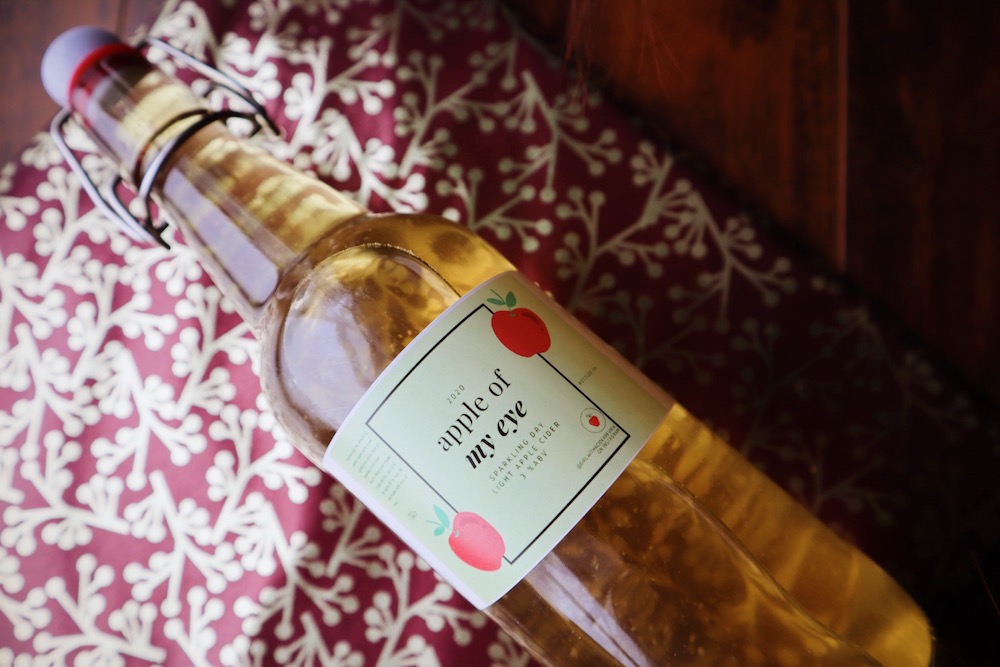
I thought overall it was a fairly straightforward process (I also followed the instructions and it was just a basic apple cider). Of course, there were some snags such as the broken airlock and the siphon turning my kitchen into Niagara Falls, but it was a great learning experience. My cider, which I named Apple of My Eye, turned out to fill 6.5 (500 ml) bottles, so that would be around 10 (355 ml bottles). It was a sparkling dry cider. I found the taste to be quite enjoyable. The one thing I was not the happiest about is the ABV, which was only 2.9%. However, in the future with more fermentation time and other changes it will be something to experiment with. I also would not have known this if I didn’t have my handy dandy hydrometer. So I’d recommend investing in one (they aren’t too expensive) and taking readings.
I can definitely recommend trying this out for cider lovers. If you are worried about not knowing what to do, maybe a kit is for you. There are lots out there to get your feet wet and give you the in-cider experience.
Editor’s note
Last week Tas Fraser came across a misogynistic post on Instagram with photos of herself and other women covering the cider scene. The post sexualized them and insinuated, that women in the cider industry are not hard workers, but rely on their looks/bodies to get attention. This prompted Tas to initiate the #noappleogies project. Said Tas in announcing the initiative: “I want to use this moment to reflect, incite necessary change and empower ALL the women in the drink industry. I asked women in the scene globally to join and post a photo of them celebrating who they are using the hashtag.” To learn more and to follow the project, go to Tas’s Instagram feed Girlwithaciderreview.
To learn more about Tas Fraser, go here
Comment here